
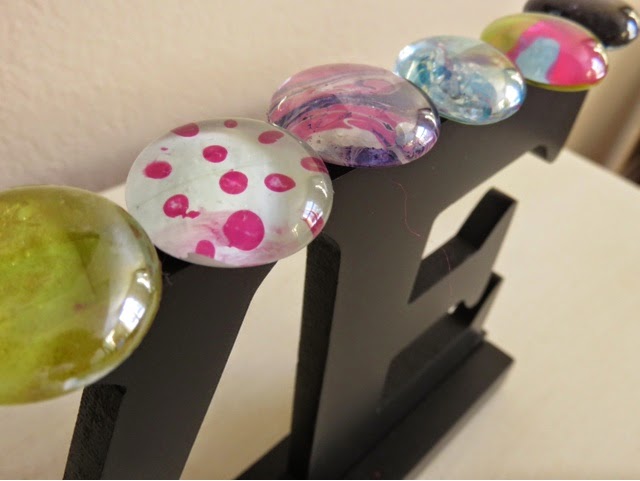
Hey everyone! Guess what this DIY is all about? It’s one of your favorites….Nail Polish Stones! So, I am going into DIY mode once again to teach you step by step(with photos!).

Now what in the world would you use these for? Glad you asked. These are great for kids in ways like….
Treasure Hunts
Rewards
Trading
They are also great for decoration, necklaces, rings, etc.

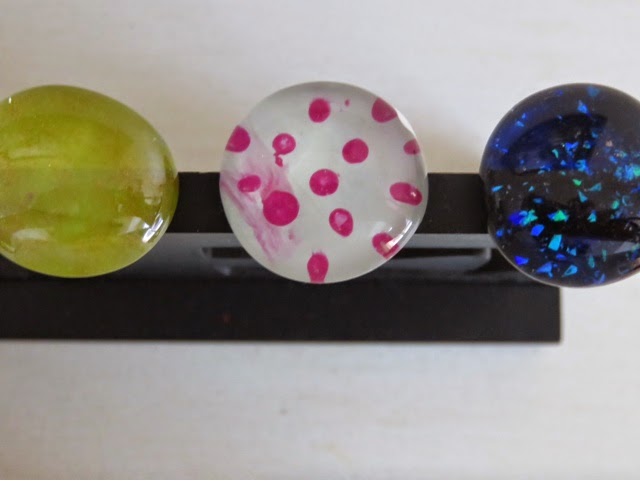
There are many techniques and ways to do this. In this tutorial I show you three ways. Let’s get going.
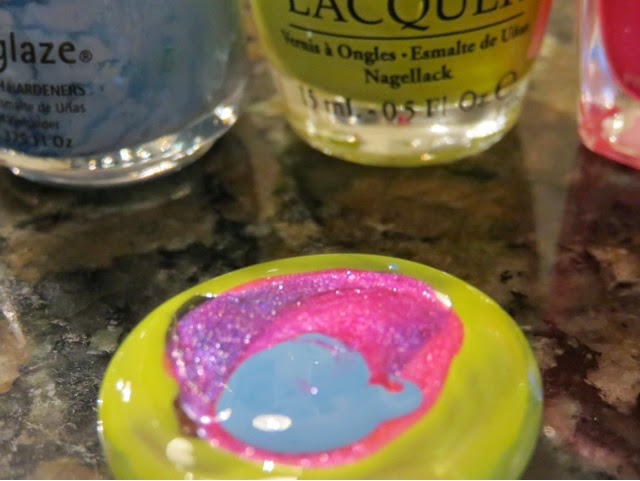
First technique: Layered Patterns and Glitter
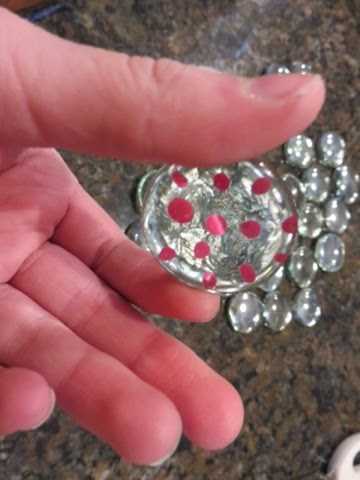
As you can see, you put on your designs first. What?! Normally on your nails, you put your base coat and then your design. Not this time. You do it reverse. We are doing all our painting on the flat side…it looks much better. The design will show on the domed side, making it look cleaner and more “professional” when showed. So, paint on flat side.
If using glitter, same thing. Paint it on the flat side before your solid coat.

Paint over those beautiful designs. You may have painted over the prettiness on the flat side, but once dry, look at the domed side…
Ta-da!
Second Technique: Basic Design
This is just as simple as it gets. Paint the design you desire on the flat side. Let dry, flip over. Pretty basic.
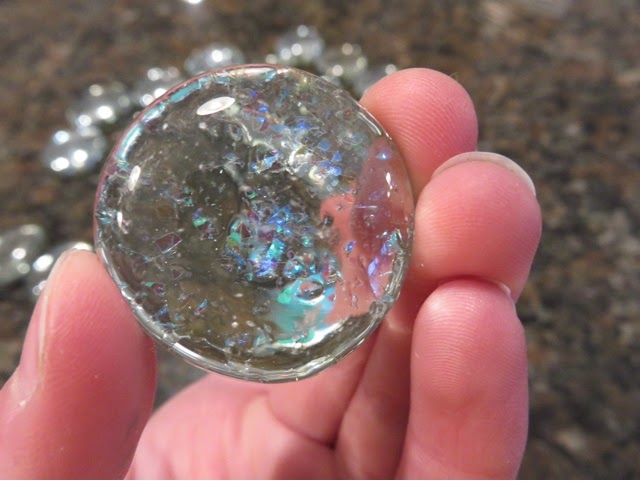
Third Technique: Water Marbled! (My favorite)
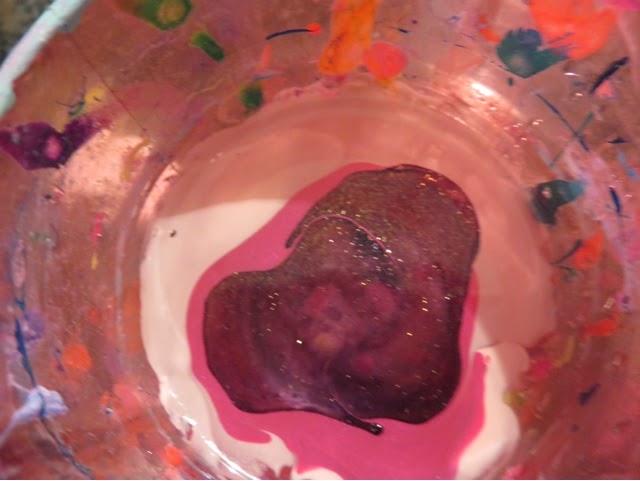
Fill a cup (that is either disposable or you won’t be using for drinking)with water. We have a plastic cup we use just for this. As you can see, it is paint splattered. The first step is to drop nail polish into the cup. You can do this by dipping your brush into the nail polish bottle. Then, without wiping the brush on the sides of the bottle, place it over the cup, for the nail polish to drop. You may have to gently sway the brush back and forth to get the drop to actually drop. If this still does not work, you can use the bottle to pour a VERY SMALL amount of polish into the cup. Some nail polish drops to the very bottom. It happens. Try again.
Repeat this process several times until you have a few layers of nail polish. It is okay if the drops end up not touching either other.
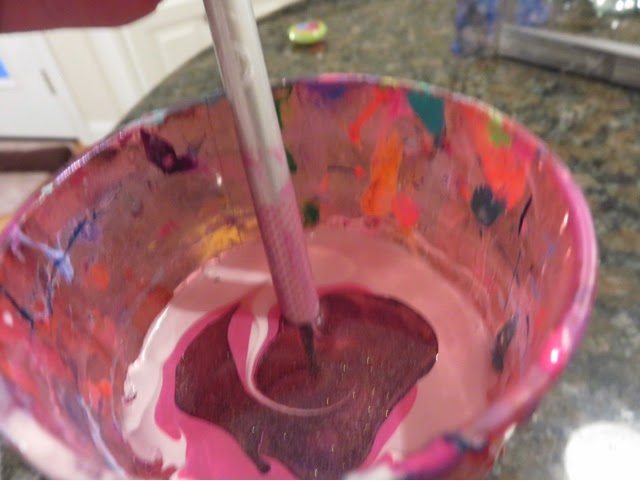
Using a toothpick or nail tool of some sort, swirl the polish. Some tutorials will show you to do it a certain way, but I just swirl, and swirl, and swirl with no pattern.
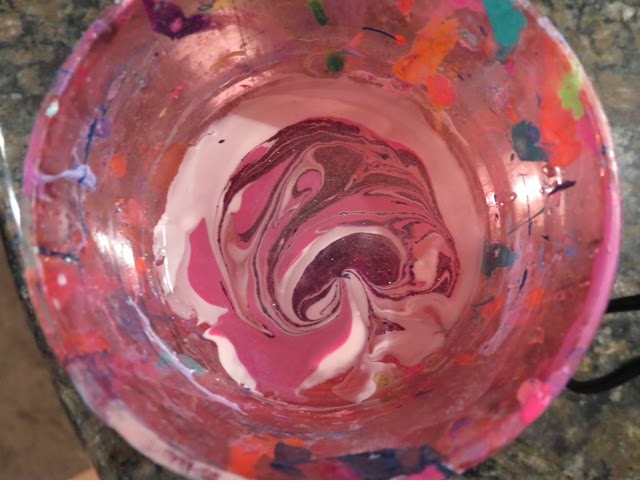
Swirl until you are pleased with your pattern.
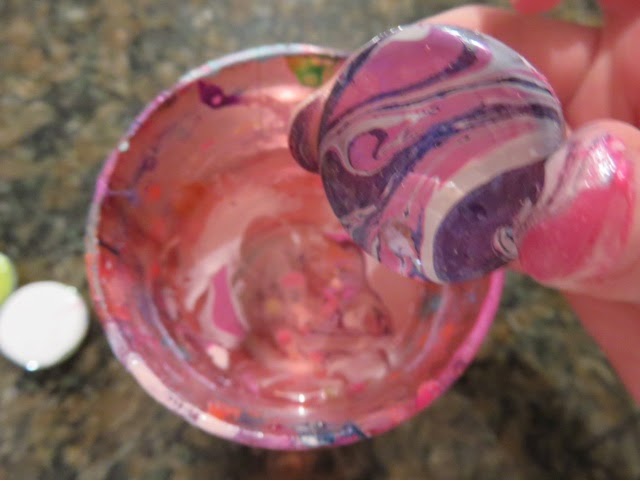
Dip the stone in the water and remove from the water. Yay! We did it. Yes, your fingers get marbled with your stone, but that’s what nail polish remover is for. Also use remover to get nail polish off the domed side if needed.


